Posts

how to fix a slippery shoe

Image

simplest off delay timer

Image
Hello, I will show you how to make an off-timer delay. This circuit is simple and uses only 3 electronic components. The off time of this circuit is around 15 seconds. But you can change the R-value to increase or decrease off time. Let's make it like the below video.

The simplest fan speed control circuit diagram

Image
Hello, today I will show you how to make a simple fan speed control by just 3 electronic components I use only 3 parts One is a 10 kilo-ohms resistor An IRF540N NPN MOSFET and a 10 kilo-ohms potentiometer No heatsink require for less than 2 A load  I use a MOSFET instead of a transistor because a MOSFET control input by voltage so it's easy to bias Let's start by connecting the resistor to the positive terminal and connect another leg to a MOSFET gate connect a MOSFET gate pin to a 10 kilo-ohms potentiometer. two resistor works as a voltage divider connect a MOSFET drain pin to the ground and also connect the potentiometer middle leg to the ground This circuit use only two legs of a potentiometer Then connect a source pin to the load negative pin and connect the load positive pin to 12 volt or positive terminal. See the video below for practical use.

how to repair severed particle board furniture

Image
The below video shows you how to fix water-damaged particle board furniture. A particle board is a low-cost and light material but it is easy to swell by water so I have two choices, buy a new one or fix it and I choose to fix it and share the instruction with you. I hope you like it.

how to repair scratches camera lens

Image
My action camera has severe lens scratches that affect picture quality so I need to fix it or throw it into the garbage. The instruction is straightforward and works perfectly.

how to repair water damage particle board

Image
This video shows you how to repair water-damaged particle boards. A particle board is light and cheap so furniture manufacturers use it widely, but it swells quickly if it exposes to water or moisture and it will be worse if you don't repair it fast. This video shows step by step guide and I hope you like it.

5 smart ways to use your old android phone and save money

Image
I bought a new smartphone but still love my old one. I think 3 to 5 years old android still has enough power for everyday use so it can be a useful tool in my house. All the methods are free or you may need to buy some features if you want. You can see below ideas that may inspire you and be useful to you.

How to improve redmi note 11 pro 5G camera

Image
 How to improve redmi note 11 pro 5G camera. Free and give you the best result. Redmi note 11 pro 5G is a decent phone, it has a 108 mp camera (Samsung hm2 sensor) but the Picture capture from the stock camera app is full of noise (see below picture) But you can improve camera quality by just installing Gcam mod from the internet and enjoy the high-quality pictures from redmi note 11 pro 5G. The G-cam mod is working for this phone without root access. You can see the picture comparison below. As you can see images above the APS-C sensor size(eos m100) camera has more noise but more details and better color but redmi note 11 pro 5G has a smaller sensor size so the Gcam algorithm is superb. However, the Gcam has its own limit, it can't capture fast-moving object because hdr+ capture several pictures and combine them into one final image. The picture may have low noise but it lost details when captured in a dark environment and it may be the redmi note11 5G not fully compatible with G...

How to improve bookshelf loudspeaker sound

Image
 My audience on my youtube channel asked me how to find a crossover network capacitance and inductance so I will make it here The speaker I made crossover network is a microlab b77. The speaker lacked the woofer's crossover network, no absorbent so I fixed it for cleaner sound and changed the tweeter's high pass filter to a better one. Step 1 Change the old capacitor to a metalized polypropylene capacitor (very clean sound). The capacitor value is 4 uf and the speaker is 8 ohms so the crossover frequency =1/6.28x8x4 = 0.004976 x 1,000,000 = 4976 Hz (x1,000,000 come from Farad to microfarad) If you want to find crossover frequency C= 0.1590/(R x F) x 1,000,000 for uf Step 2 Find induction for the woofer. L = .1592 x 4(woofer resistance)/4976(Hz) =1270 micro Henry x1000 = 0.127 mH but I has 0.1 mH so the crossover point may change a little but not much. If you want the complete sound you may find 0.127 mH Speaker crossover diagram. Step3 Add absorbent to the speaker cabinet. The ...

How to fix broken foldable plastic joint

Image
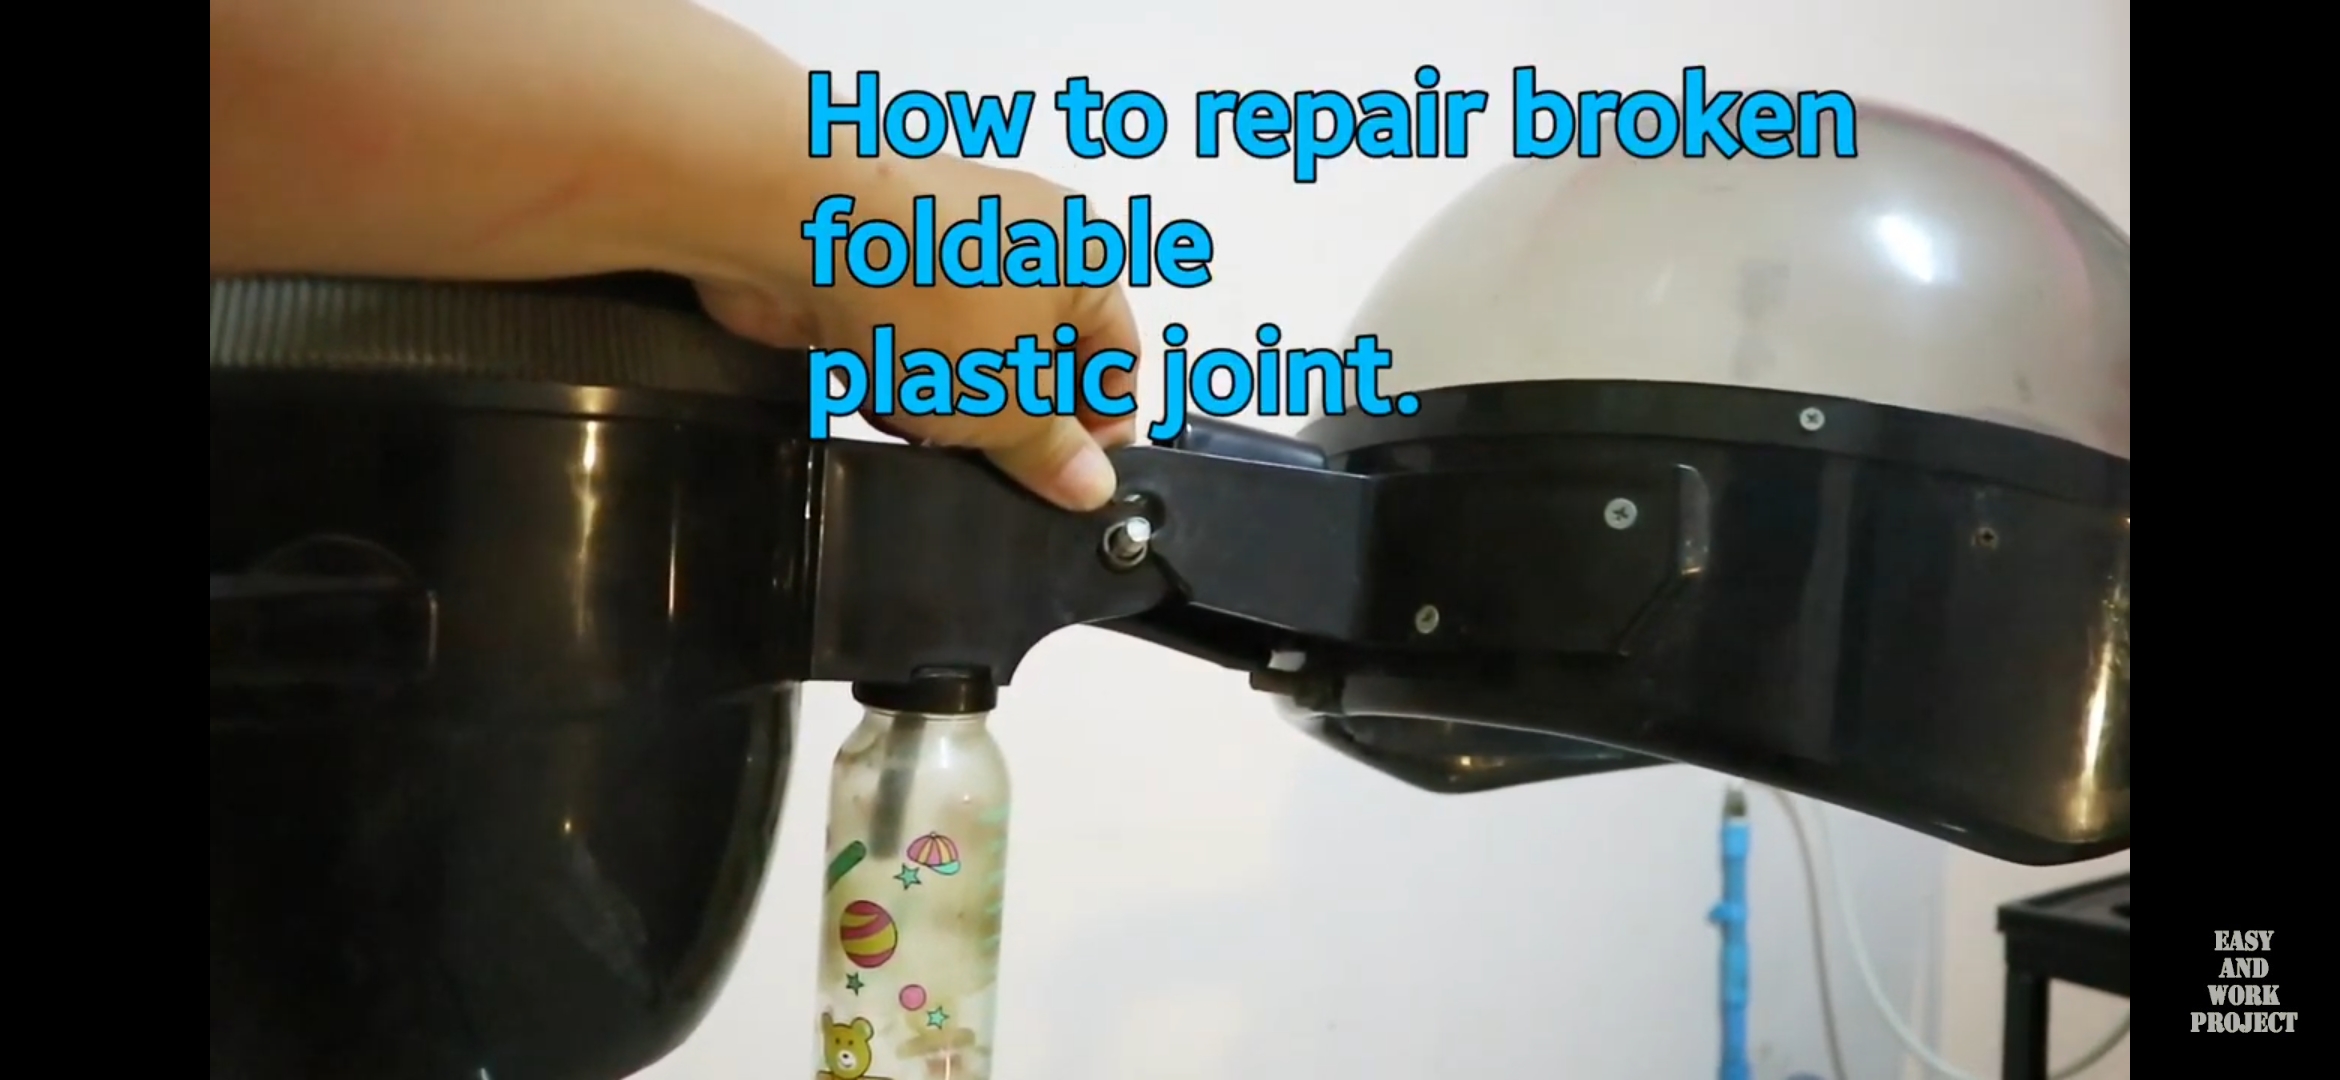
 Fix broken plastic joint, how it works. My hair steam plastic joint was broken and I need to change the whole part. So I decided to fix it my own way to save my money. All parts to make this fix: Hot glue flat washer Small screws Drill As you can see above picture, the joint is hard to repair by glue because the broken part missing. I need to find something that can do the job. This flat washer is good for the job. Let's see the instruction in the video below.

How to install water heater at home.

Image
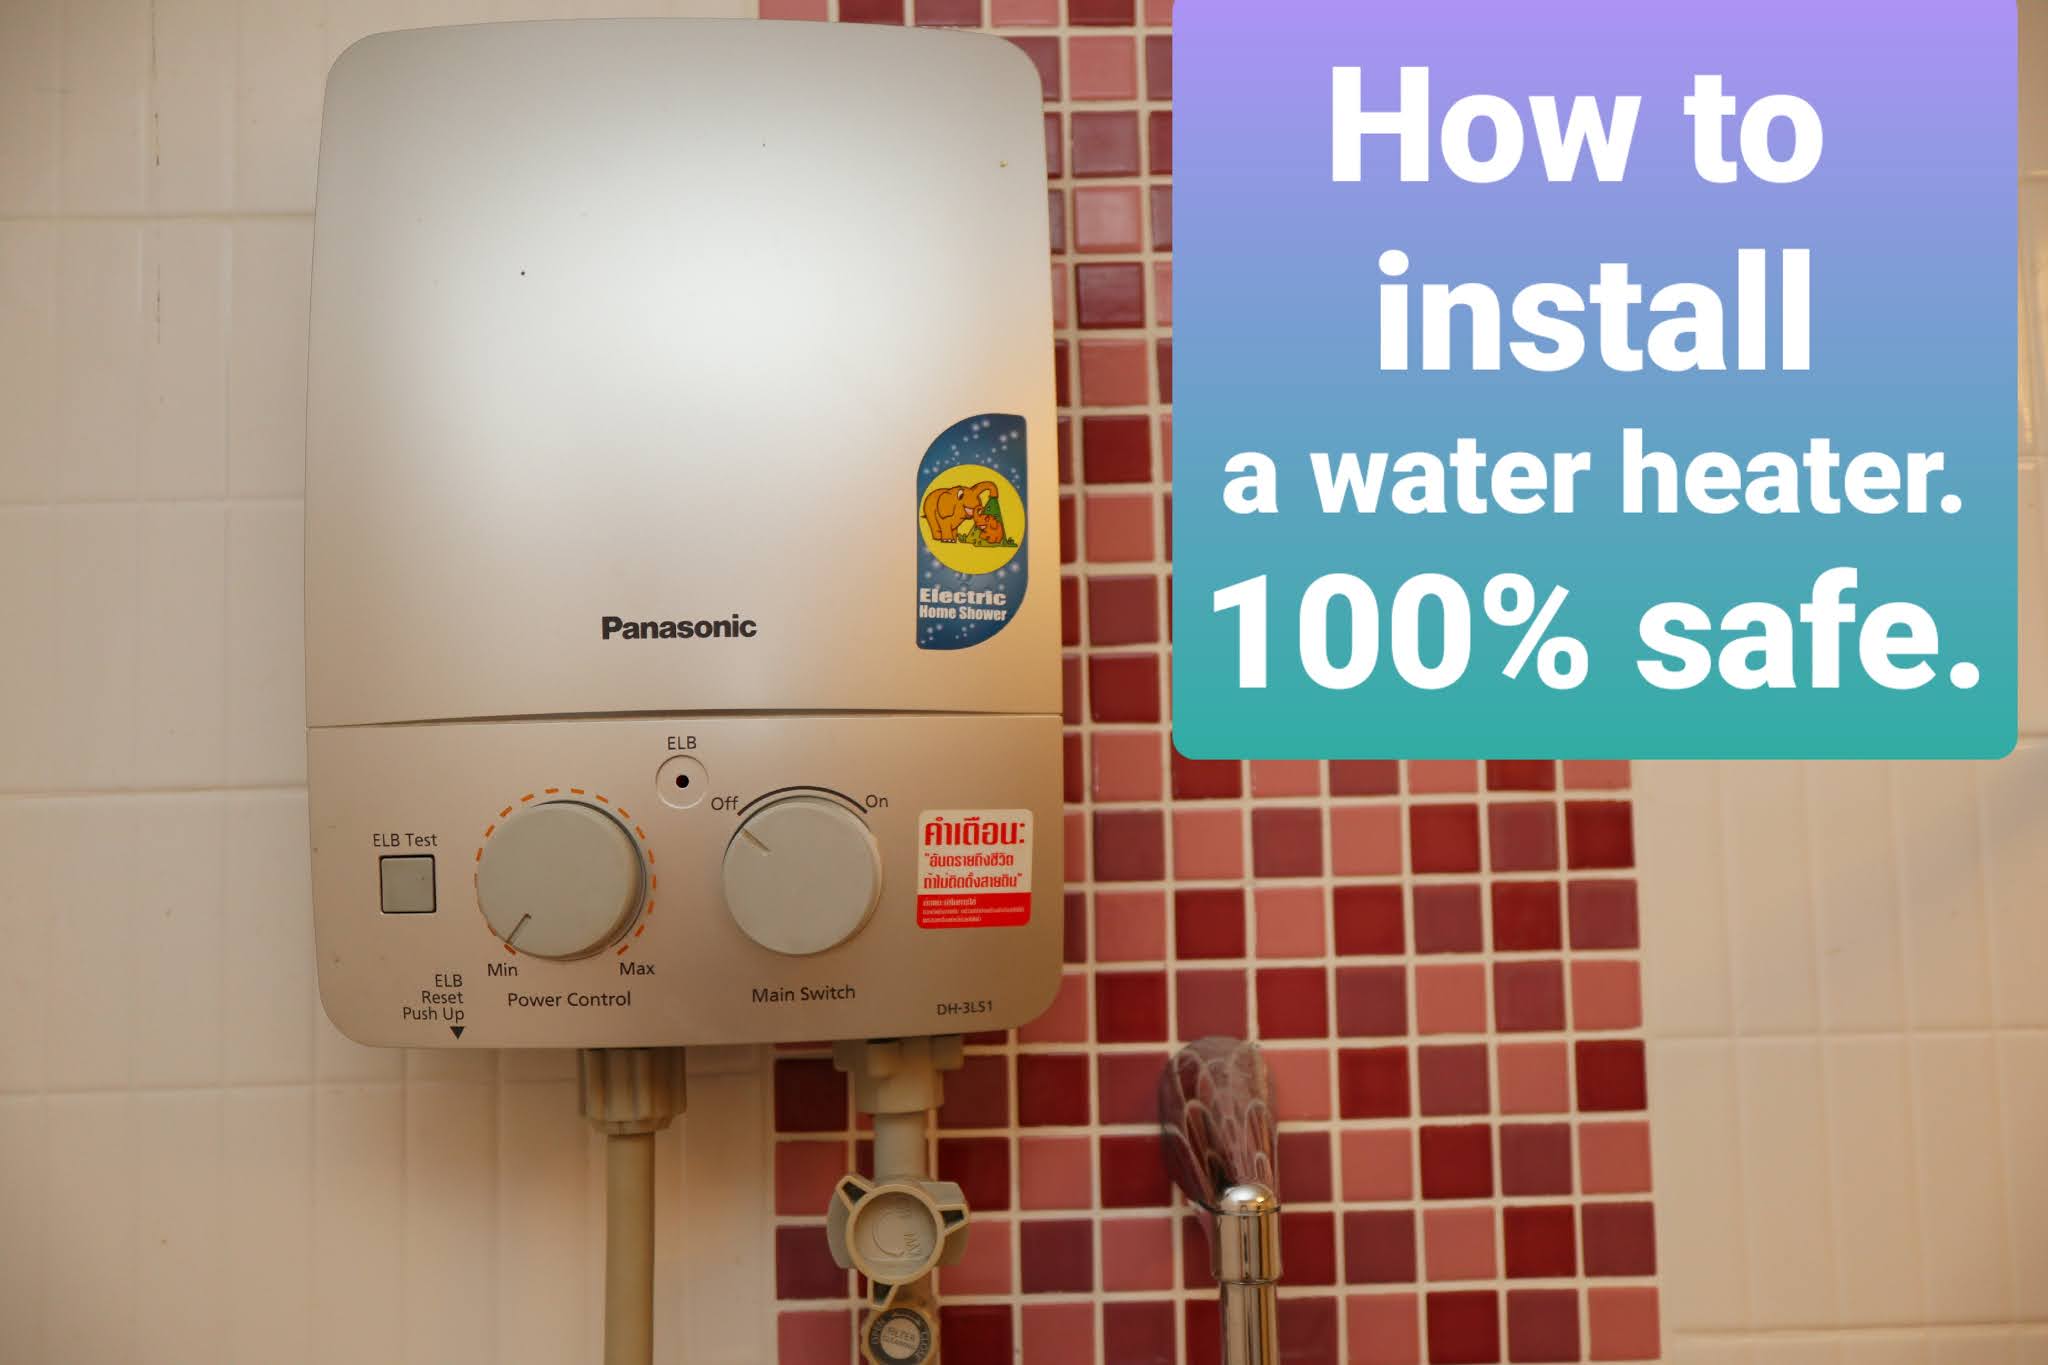
This page shows you how I install a hot shower at my condominium. However, you need to have basic knowledge about electronics and you will be fine. First step: You need to cut off the circuit breaker before doing this works. Second step: Find the right wire color and meaning of the color. As you can see in the above picture, the ground wire always green in color, and the hot wire is black. Unlike DC current load AC current use black color as a hot wire but DC current use black as a ground. Third step: Check resistance between neutral and ground, it should be 0 ohms or no more than 1 ohms. The resistance above 1 ohm means that the ground wire has a problem and elb, elcb may not work. Last step: Connect three wires to a hot shower and everything will be finished. See the video below for the complete project.

Helmet face sheild scratches repair.

Image
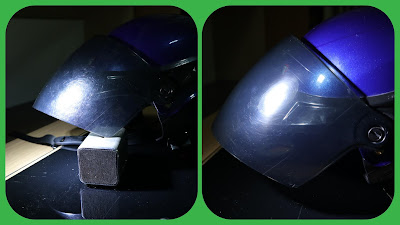
This page shows you how to remove scratches from motocycle helmet face sheild. This method works well even the face sheild have so many scratches. The helmet face sheild is easy to has scratches but you don't need to change it because you can remove it by yourself. Normally, the helmet face shield made of plastic and a car polishing wax can remove scratches. However, the polishing wax dissolve some plastic and make it thinner so beware about it. See video below for the instruction and prove.

Simple Temperature Control Fan Speed circuit diagram

Image
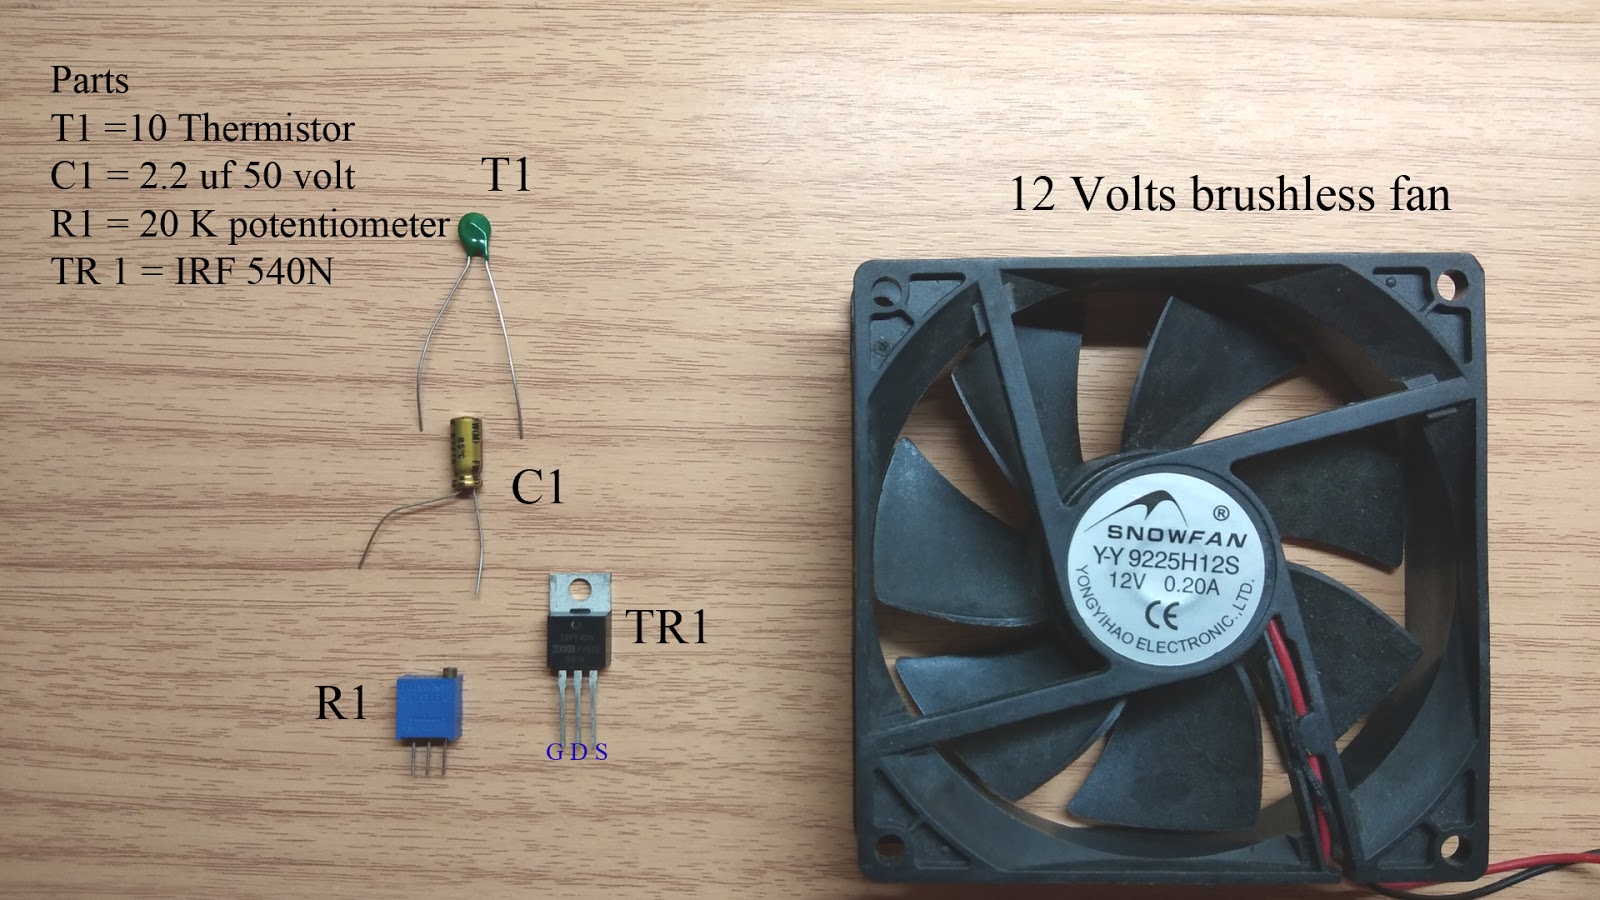
Today I will show you how to make a very simple temperature control fan speed circuit. I use very minimal parts and works in real life. This circuit change 12 volts DC fan speed by temperature. The hotter the temp, the faster fan speed. The circuit principle is a voltage divider between T1 and 20 K potentiometer. When temperature increase, the Thermistor resistance decrease and make the voltage set point between T1 and R1 increase until it is higher than a Mosfet Vgs threshold and make a Mosfet change to ON state and conduct current to a fan. Below picture is the parts you need. Note: T1 is 10 K thermistor See the video below that shows how it work and full circuit diagram and the important of C1

Emergency fix camera tripod lever leg lock

Image
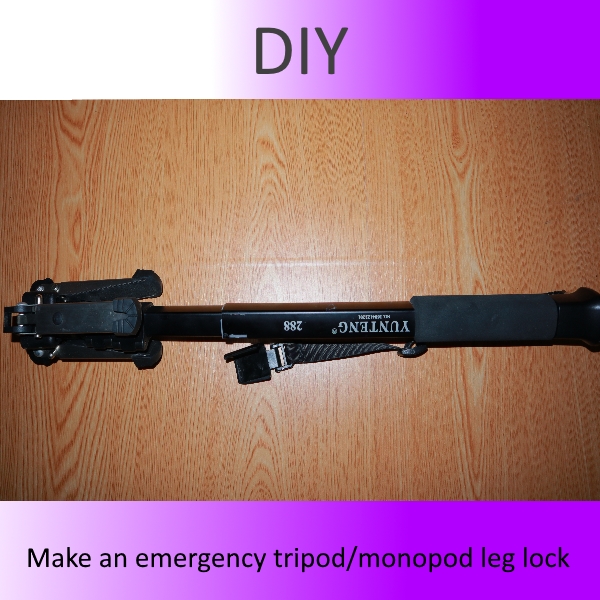
This article shows you how to fix a broken camera tripod or monopod lever leg lock. The tripod or monopod quick lever leg lock has many shape and size so this article will help you fix it without paying a very high cost. A camera tripod is a tool that helps photographer shooting a shake-free picture when shutter speed lower than minimum requirement(1/focal length for full frame camera). A tripod has three legs and one leg for a monopod. When you set a camera position, you need to adjust a tripod/monopod leg to your design high and lock the position with the leg lock. You can't adjust a tripod leg if it damage and the leg lock spare part is hard to find so this problem is the main reason that makes me wrote this article for people that face the same problem like me. Everything you need for this DIY Hot glue or epoxy glue Horse clamp Plier See the instruction video below

Repair vertical blue line on lcd monitor

Image
My AOC IPS LCD display had a dead vertical blue line and it was very annoying so I used the method in this video to fix the problem. I hope this method work for your LCD monitor too. What's cause the LCD display vertical line? The answer: The vertical line appears because of a low-quality LCD display or the LCD monitor panel exceed lifespan. This problem can't be fixed. However, the vertical line may appear because of connection wire is loose or glue degrade. This problem can be fixed by the method on the video below. Note: If you want a better result, you have to use hot air dryer blowing on the connecting wire that attaches on the control board. However, you should be very careful about too much heat from a hot air dryer, don't blow hot air too long or your LCD monitor will not working again.

high power led flasher circuit diagram

Image
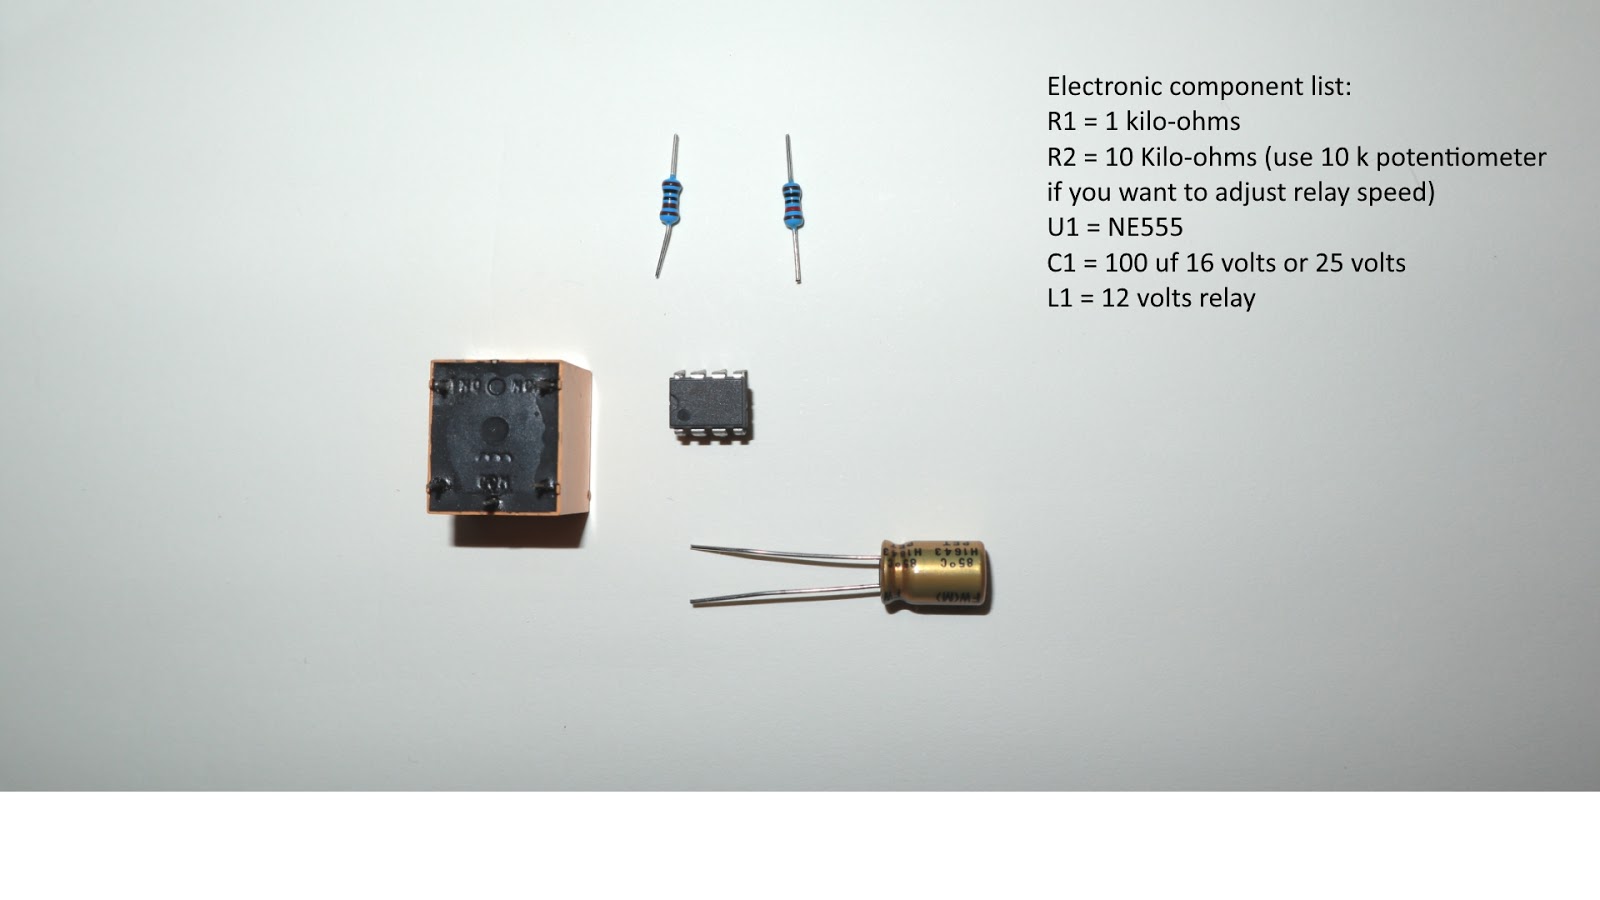
This page shows you how to make a simple led flasher that can use with high current led bulb(10 Amperes for 12 volts led bulb). This circuit also can flash any led bulb both 12 volts and 220 volts and normal light bulb. The circuit uses minimal electronic components as you can see below picture. The circuit use IC 555 to send the signal to a relay so this circuit can withstand high current without generating any heat like another design. you can see video below for the instruction and test circuit. If you want to see the more interesting video. See my youtube channel here Easyandworksproject youtube channel

The simplest 12 volts led dimmer circuit diagram

Image
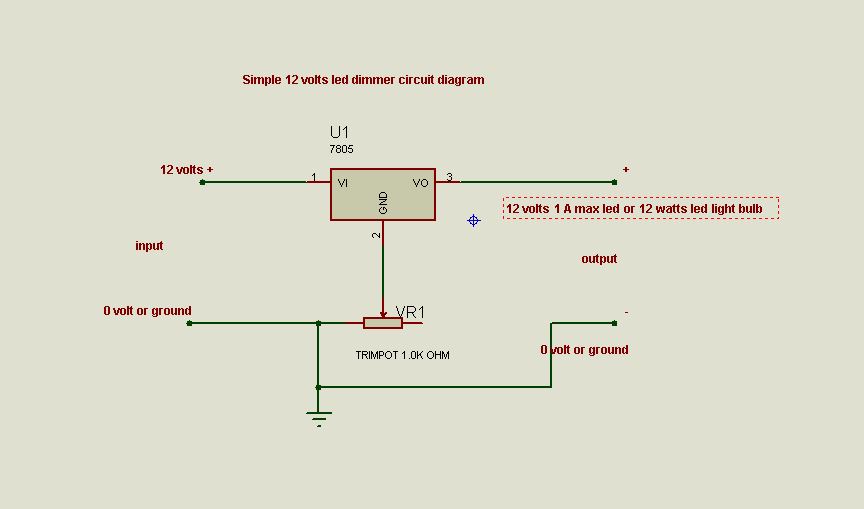
This page shows you how to make the simplest 12 volts led bulb, the led bulb that uses with solar cell or 12 volts adapter.  Why you should use 12 volts led bulb? The simple answer is the 12 volts led bulb doesn't have any flicker that makes your  Eye fatigue. This is the schematic diagram of this project This circuit is simple to make and very safe because the 7805 IC has short circuit protection, over current protection, thermal protection so this circuit is good for beginner to advance electronic DIYer. See the working circuit from the video below. If you love this project, please support us by Share this page to your friends.

How to make an automatic cabinet/ wardrobe light

Image
This project will show you how to make an automatic cabinet/wardrobe light that uses only one battery. This circuit has a very long battery life and easy to install, it does not consume any energy when standby too. All parts you need: 1 x 5 volts led strip 1 x 18650 battery 1 x refrigerator door switch Soldering iron wire hot glue gun screws 18650 battery can supply around 3.7 volts but the 5 volts strip can operate without any problem. This automatic cabinet light doesn't consume any energy when standby because of the switch is just on/off switch that uses metal contact. Let's see how it works in the video below.

4 life hack you may not know

Image
Hello, today I will show you some life hack and repair that you never known. The methods time in the video shown below. 0:07 hack empty lighter to work again 0:35 Speaker dust cap repair 1:16 temporary increase smartphone sound volume 1:27 emergency cellphone stand

Cellphone white spot on back body repair

Image
My vivo v9 has the ugly white spot on it. Don't think you can save your phone color by using a back cover, some small particles can enter in a phone case and cause severely scratches or white spot like my vivo v9 phone. However, you can fix it like a car paint repair job. See video below about how to repair back spot color on your smartphone.